Browse Repo
Overview
The Browse Repo page allows administrators to view and manage all backup repositories and their contents. From this page you can browse repository folders, create new folders, create backup users, and manage user credentials and repository access — all from three buttons at the top right of the page.
Browse Repo — Initial View
To access Browse Repo, click on BROWSE REPO from the left navigation menu. The page displays all available repositories and folders. Three action buttons appear at the top right: Credentials, Create User, and Create Folder.
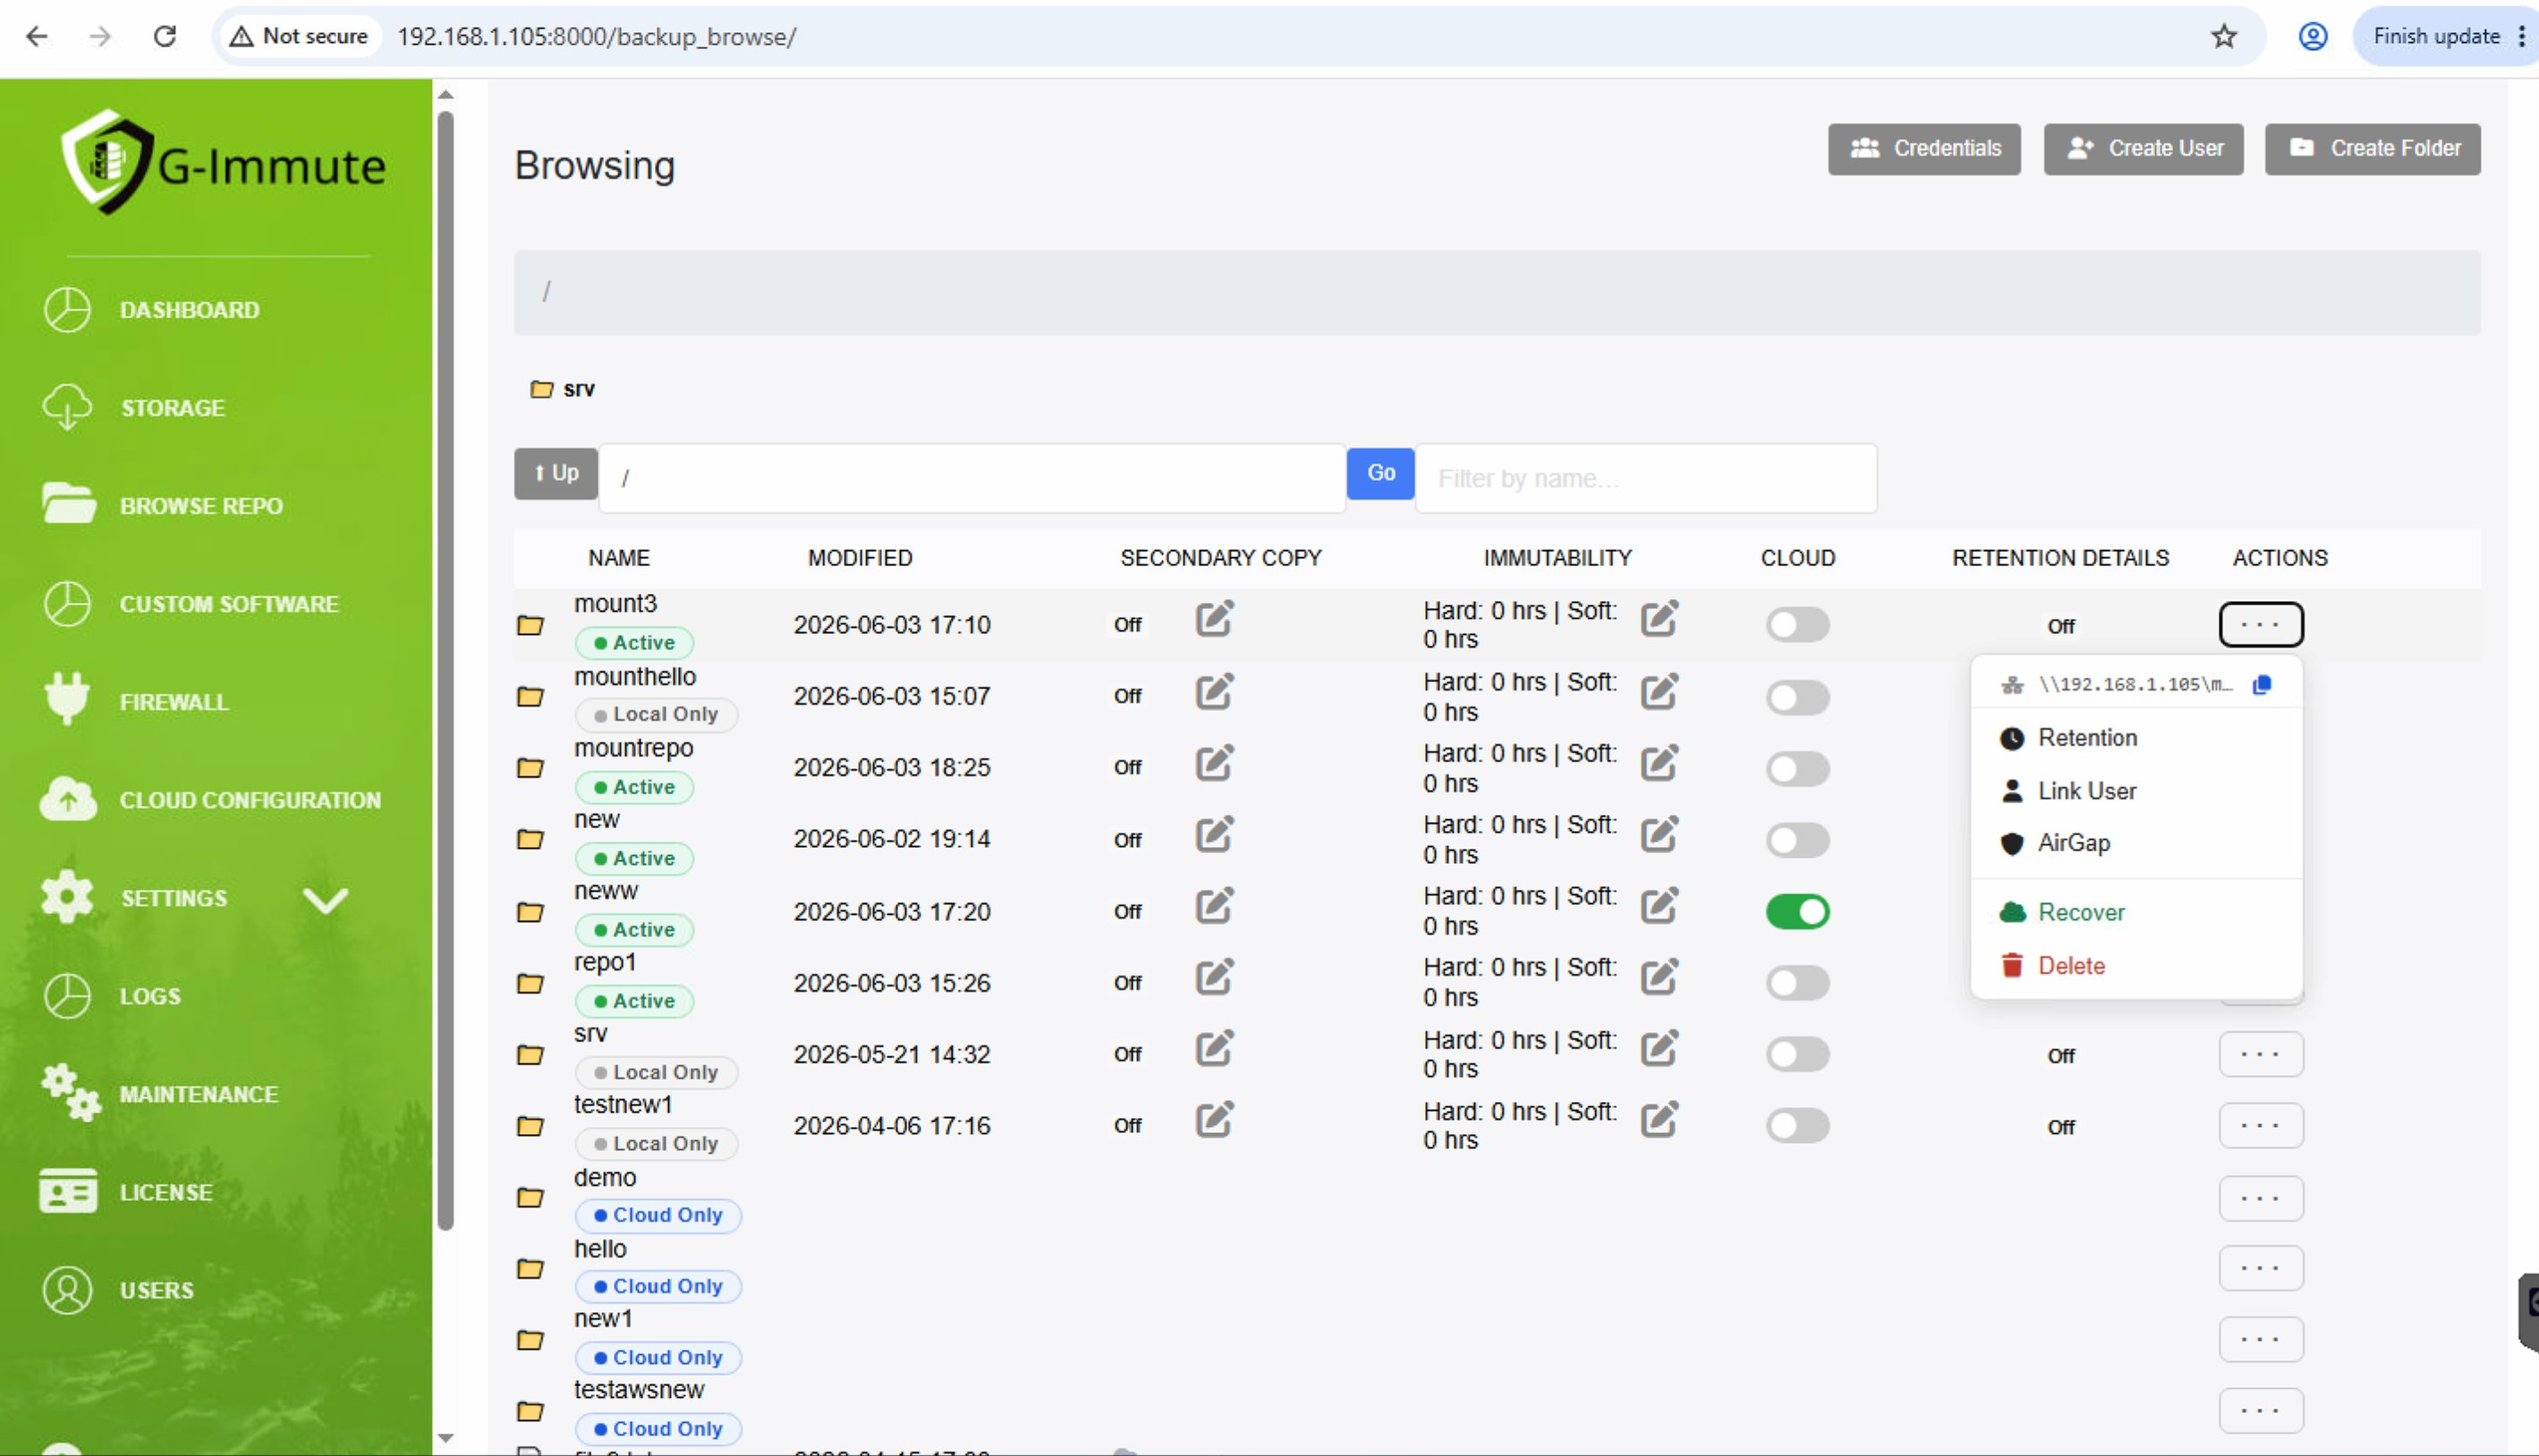
Figure 27 — Browse Repo — Initial View
| Element | Description |
|---|---|
| Browsing | The main area showing all repository folders and their details. |
| PATH bar ( / ) | Shows the current directory path. Click Up to navigate to the parent folder. |
| NAME | The name of the repository folder. Example: mount3, mounthello, mountrepo, new, neww, repo1, srv |
| STATUS | Colour-coded badge: Active (green) = local + cloud sync, Local Only (grey) = local only, Cloud Only (blue) = in cloud, deleted locally. |
| MODIFIED | The date and time the folder was last modified. |
| SECONDARY COPY | Indicates whether a secondary copy/backup of this repository exists. |
| IMMUTABILITY | Shows Hard and Soft immutability settings for the folder. Hard and Soft retention hours protect data from deletion. |
| CLOUD | Indicates whether cloud backup is enabled for this folder. |
| RETENTION DETAILS | Shows the configured retention policy for the folder. |
| Retention button | Click to configure or view the retention policy for a specific folder. |
| Link User button | Click to link a backup user account to this repository folder. |
| AirGap button | Click to configure AirGap settings for air-gapped backup protection. |
| Recover button (Green) | Click to restore a Cloud Only folder back to local storage. Available only for Cloud Only folders deleted from local storage. |
| Delete button (Red) | Click to permanently delete the repository folder. |
| Credentials button | Opens the user credentials panel showing which users have access to which repositories. |
| Create User button | Opens a dialog to create a new backup user account. |
| Create Folder button | Opens a dialog to create a new repository folder. |
Recover · Restore from Cloud
If a folder shows Cloud Only status, it was deleted locally but its data still exists in the cloud. Use the Recover button (in the ··· actions menu) to restore it back to local storage.
| Element | Description |
|---|---|
| Active (green) | Exists both locally and in cloud. Fully accessible and synced. |
| Local Only (grey) | Exists only on the local server. Not yet uploaded to cloud. |
| Cloud Only (blue) | Deleted locally; data exists only in cloud. Use Recover to restore. |
Step 1 · Recover Confirmation Dialog
Clicking Recover opens a confirmation dialog asking whether to overwrite existing files or perform a safe restore.
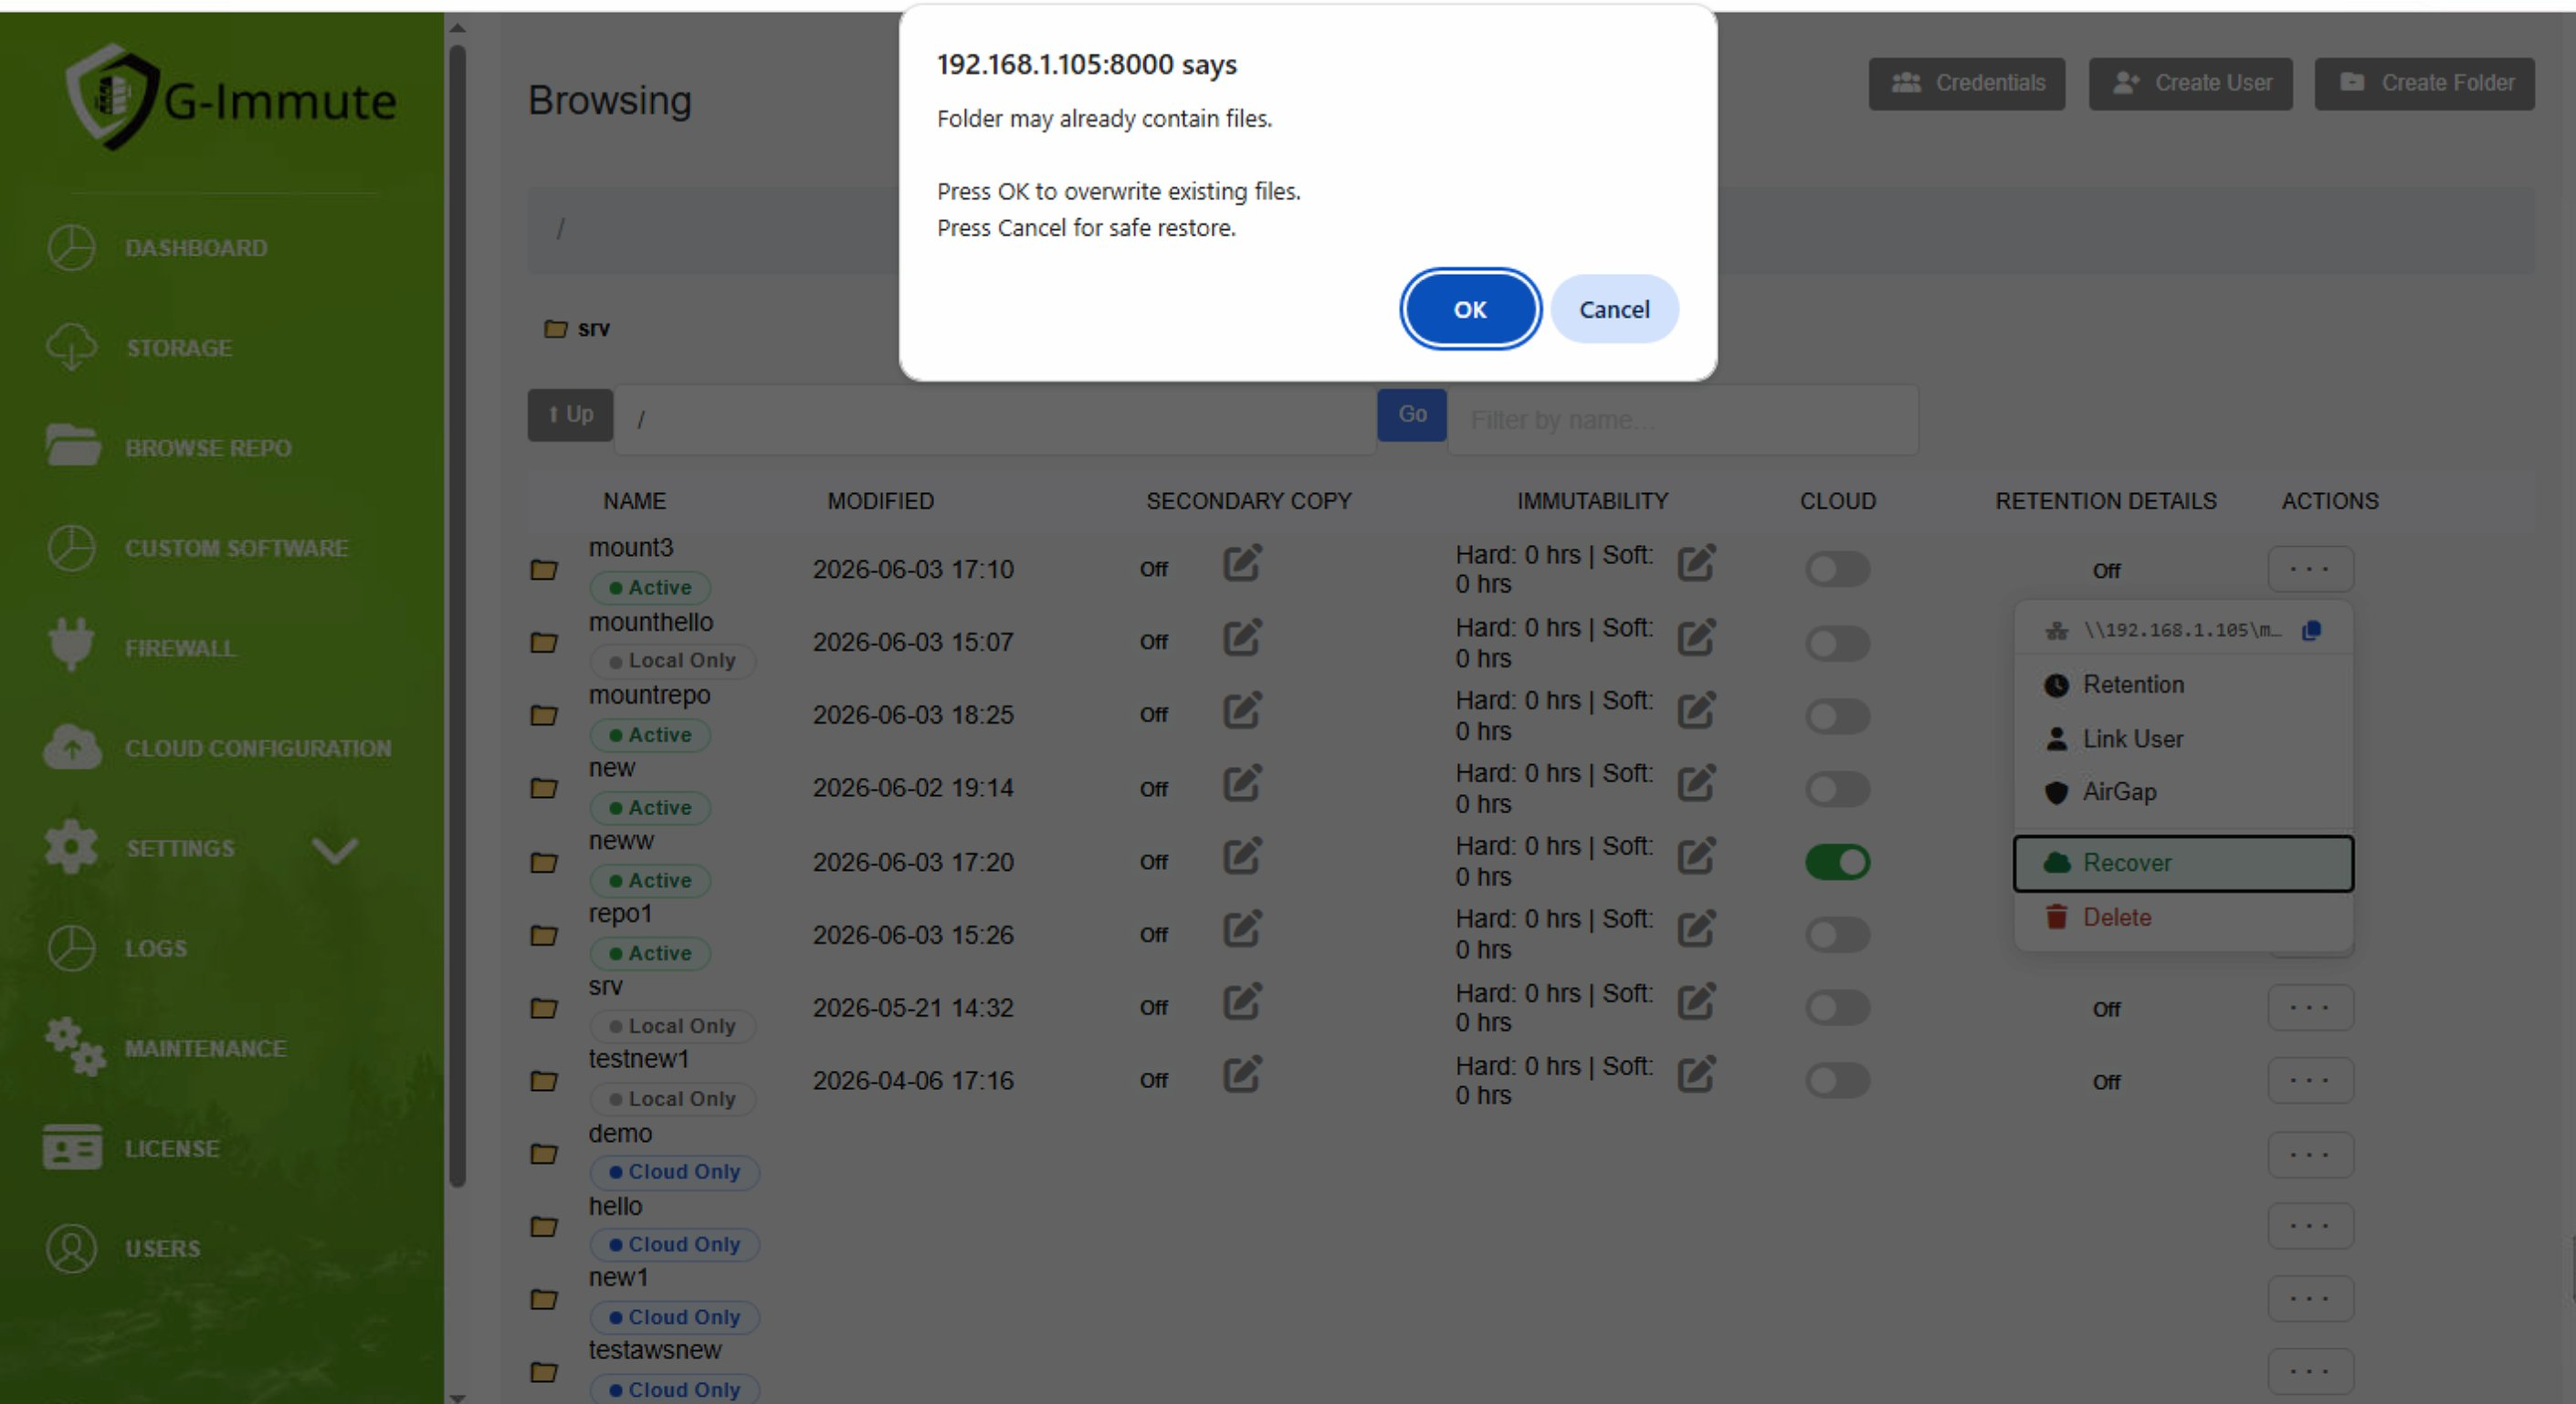
Figure — Recover confirmation dialog
| Element | Description |
|---|---|
| Dialog message | "Folder may already contain files." Press OK to overwrite. Press Cancel for safe restore. |
| OK button | Overwrites existing local files with the restored cloud data. |
| Cancel button | Performs a safe restore — skips any files that already exist locally. |
Step 2 · Restore Request Queued
After confirming, G-Immute queues the restore and shows a popup. The restore process runs in the background automatically.
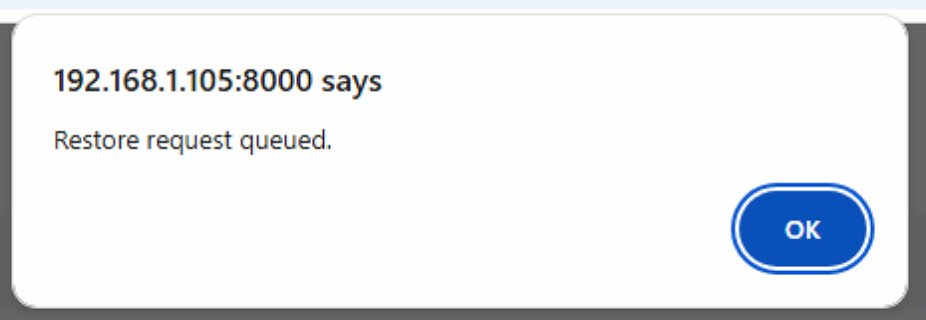
Figure — Restore request queued confirmation
| Element | Description |
|---|---|
| Confirmation popup | A browser dialog confirms the restore has been queued. |
| Message shown | "Restore request queued." — the recovery is running in the background. |
| OK button | Click OK to dismiss. The folder restores progressively in the background. |
Step 3 · Browse Repo View with Recover Button
The Recover button appears in the ··· actions dropdown for any Cloud Only folder. Clicking it starts the recover flow shown in Steps 1 and 2.
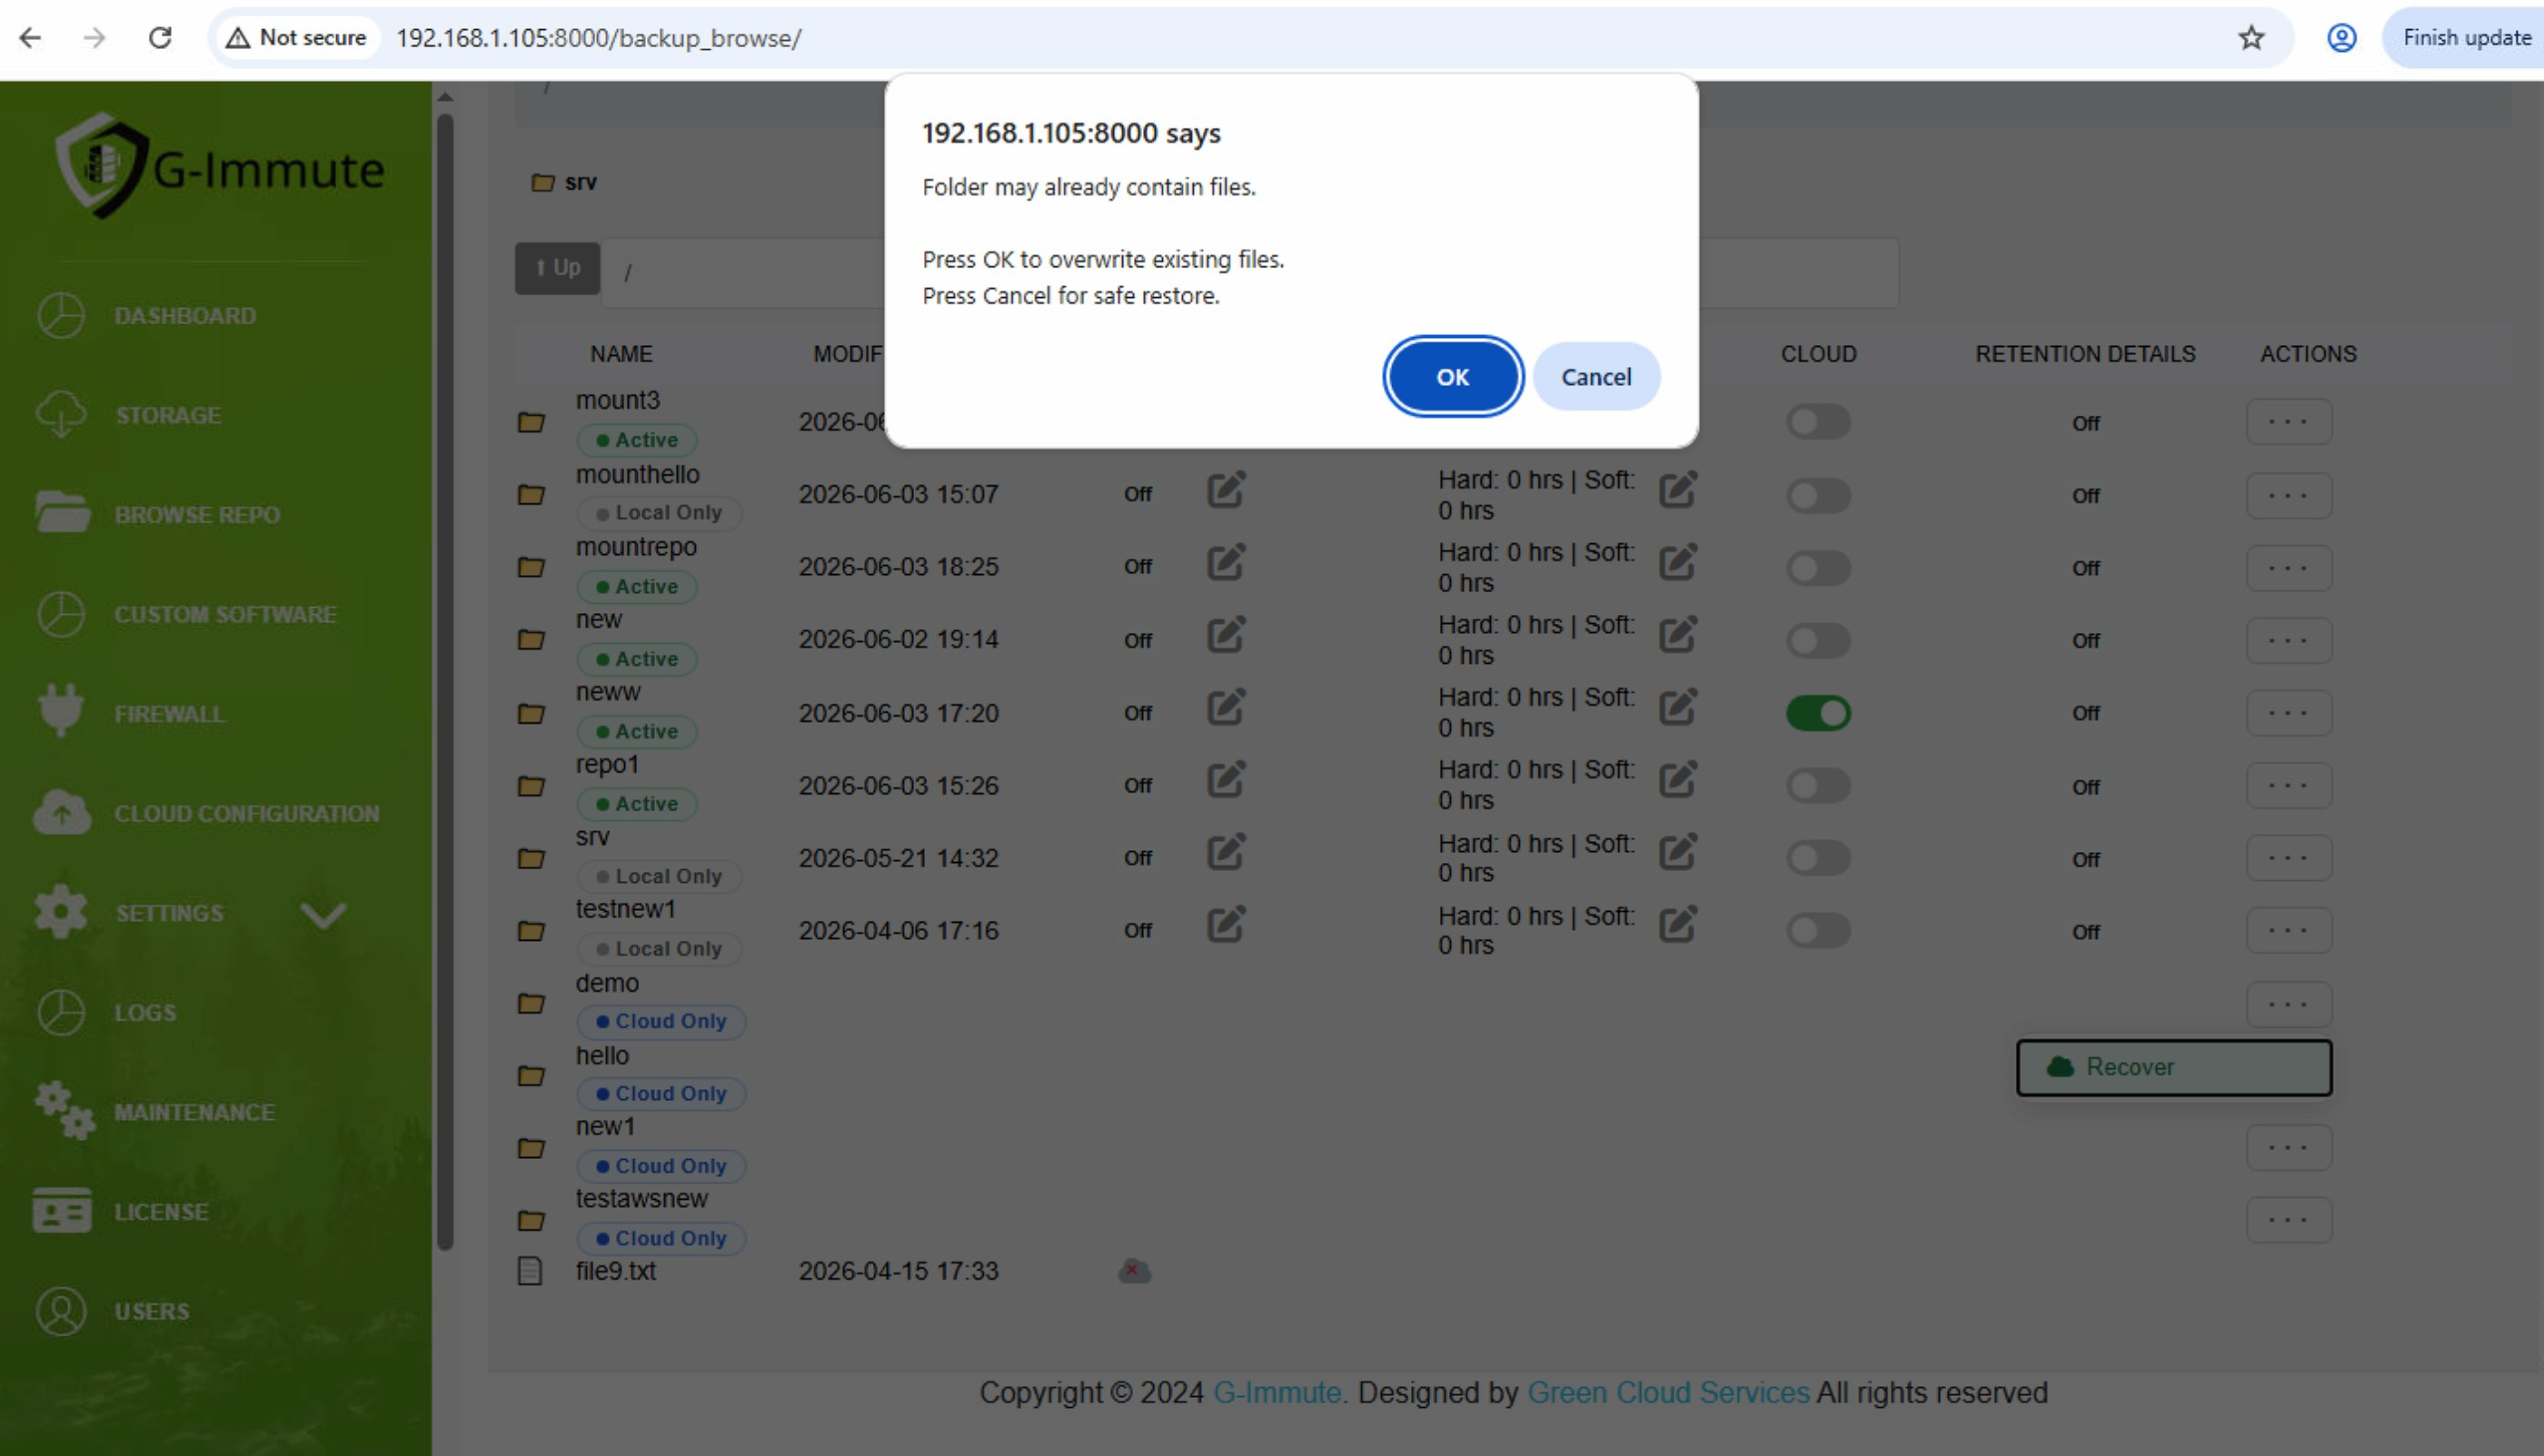
Figure — Browse Repo showing Recover button for a Cloud Only folder
Creating a Folder
To create a new repository folder, click the Create Folder button at the top right. A dialog appears where you enter the folder name and select the folder type.
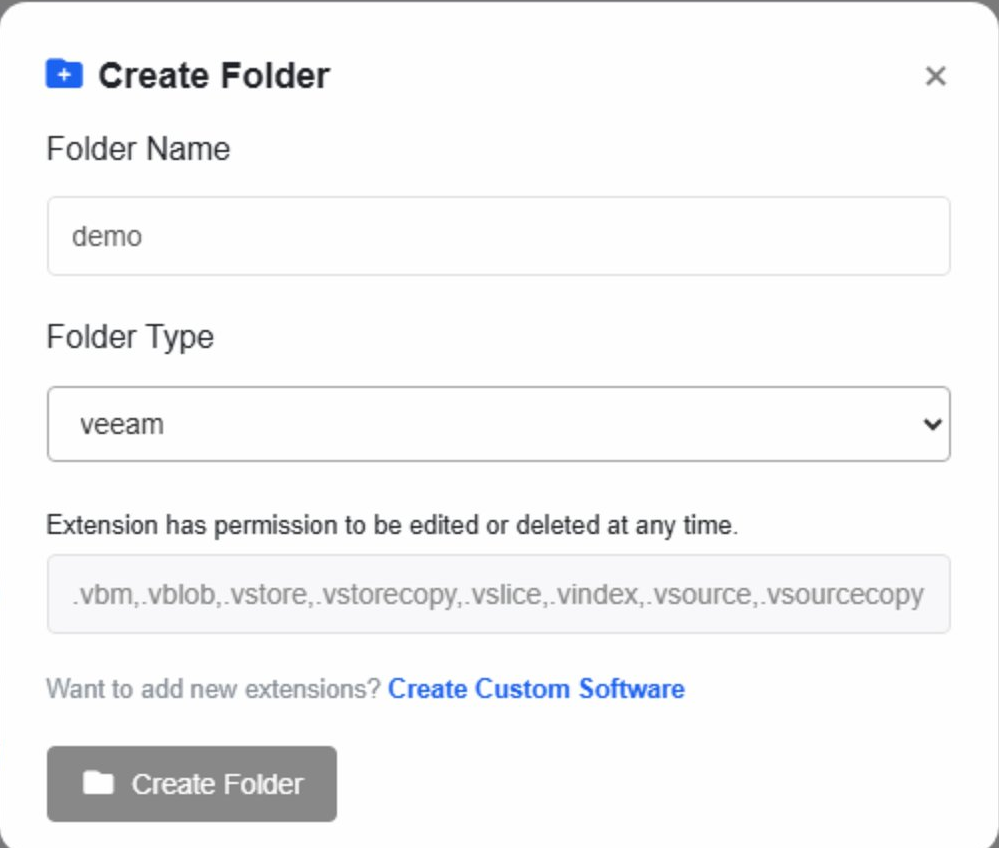
Figure 28 — Create Folder dialog
| Element | Description |
|---|---|
| Folder Name | Enter a unique name for the new repository folder. Example: demo |
| Folder Type | Select the backup software type that will use this folder. Example: veeam |
| Extensions | File extensions G-Immute can manage in this folder. Example: .vbm, .vblob, .vstore, .vstorecopy, .vslice, .vindex, .vsource, .vsourcecopy |
| Create Custom Software | Click this link to add custom extensions not in the default list. |
| Create Folder button | Click to create the folder and add it to the repository list. |
Folder Created Successfully
After clicking Create Folder, a confirmation popup appears.
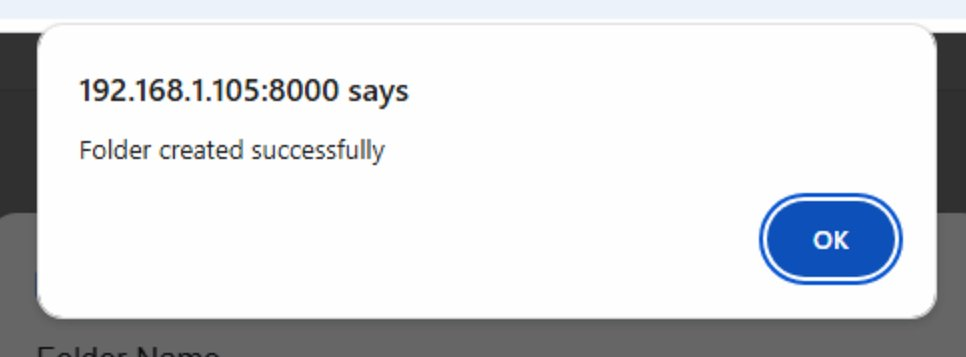
Figure 29 — Folder created successfully confirmation
| Element | Description |
|---|---|
| Message shown | "Folder created successfully" — the new folder has been added to the repository list. |
| OK button | Click OK to dismiss. The new folder will appear in the Browse Repo list. |
Creating a Backup User
To create a new backup user account, click the Create User button at the top right. A dialog appears where you enter the username and set a password.
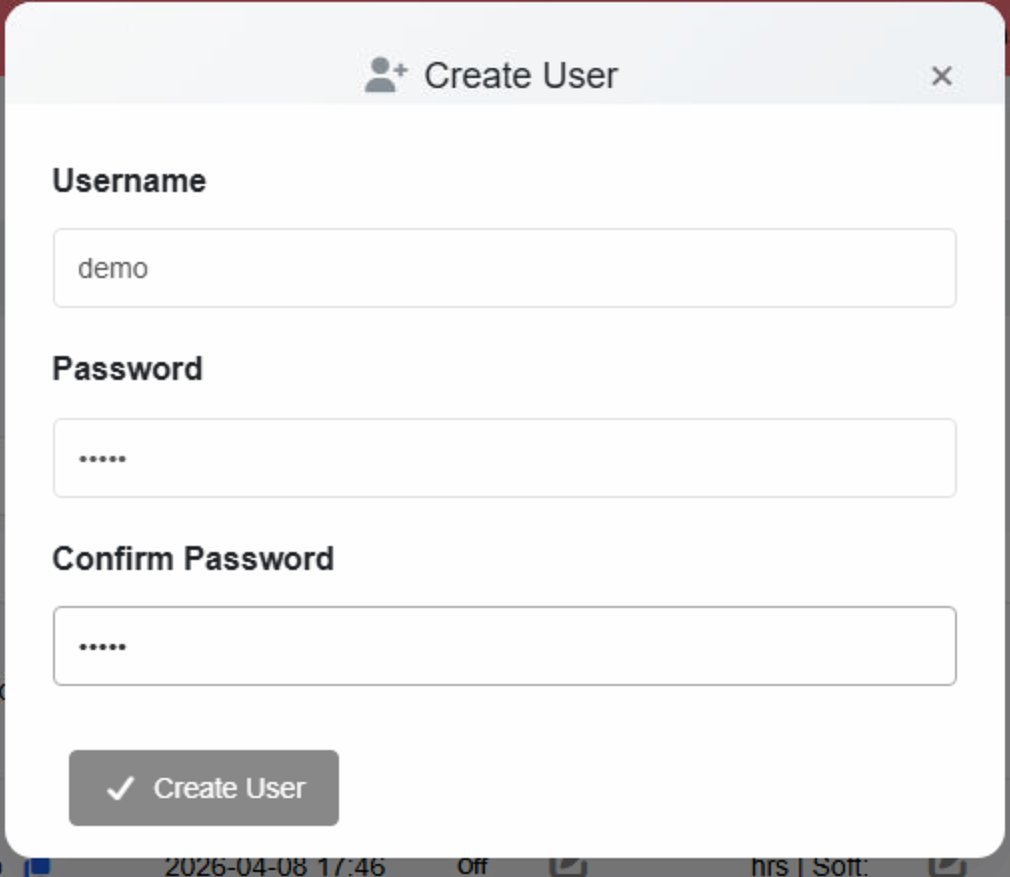
Figure 30 — Create User dialog
| Element | Description |
|---|---|
| Username | Enter a unique username for the new backup user account. Example: demo |
| Password | Enter a password for the account (masked with dots for security). |
| Confirm Password | Re-enter the password to confirm it matches. |
| Create User button | Click to create the backup user account. |
User Created Successfully
After clicking Create User, a confirmation popup appears.
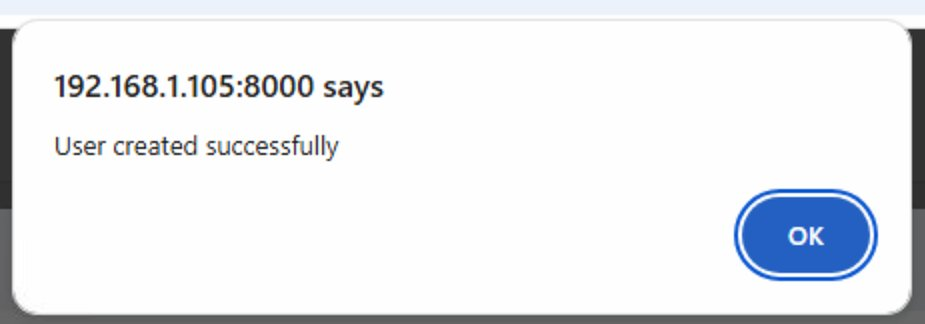
Figure 31 — User created successfully confirmation
| Element | Description |
|---|---|
| Message shown | "User created successfully" — the new backup user has been added to the system. |
| OK button | Click OK to dismiss. The user will appear in the Credentials list. |
Credentials — User List & Repository Access
Click the Credentials button at the top right of Browse Repo to open the credentials panel. This shows all backup users, their User IDs, which repository they are linked to, and allows you to delete users. Clicking the delete icon shows a confirmation popup.
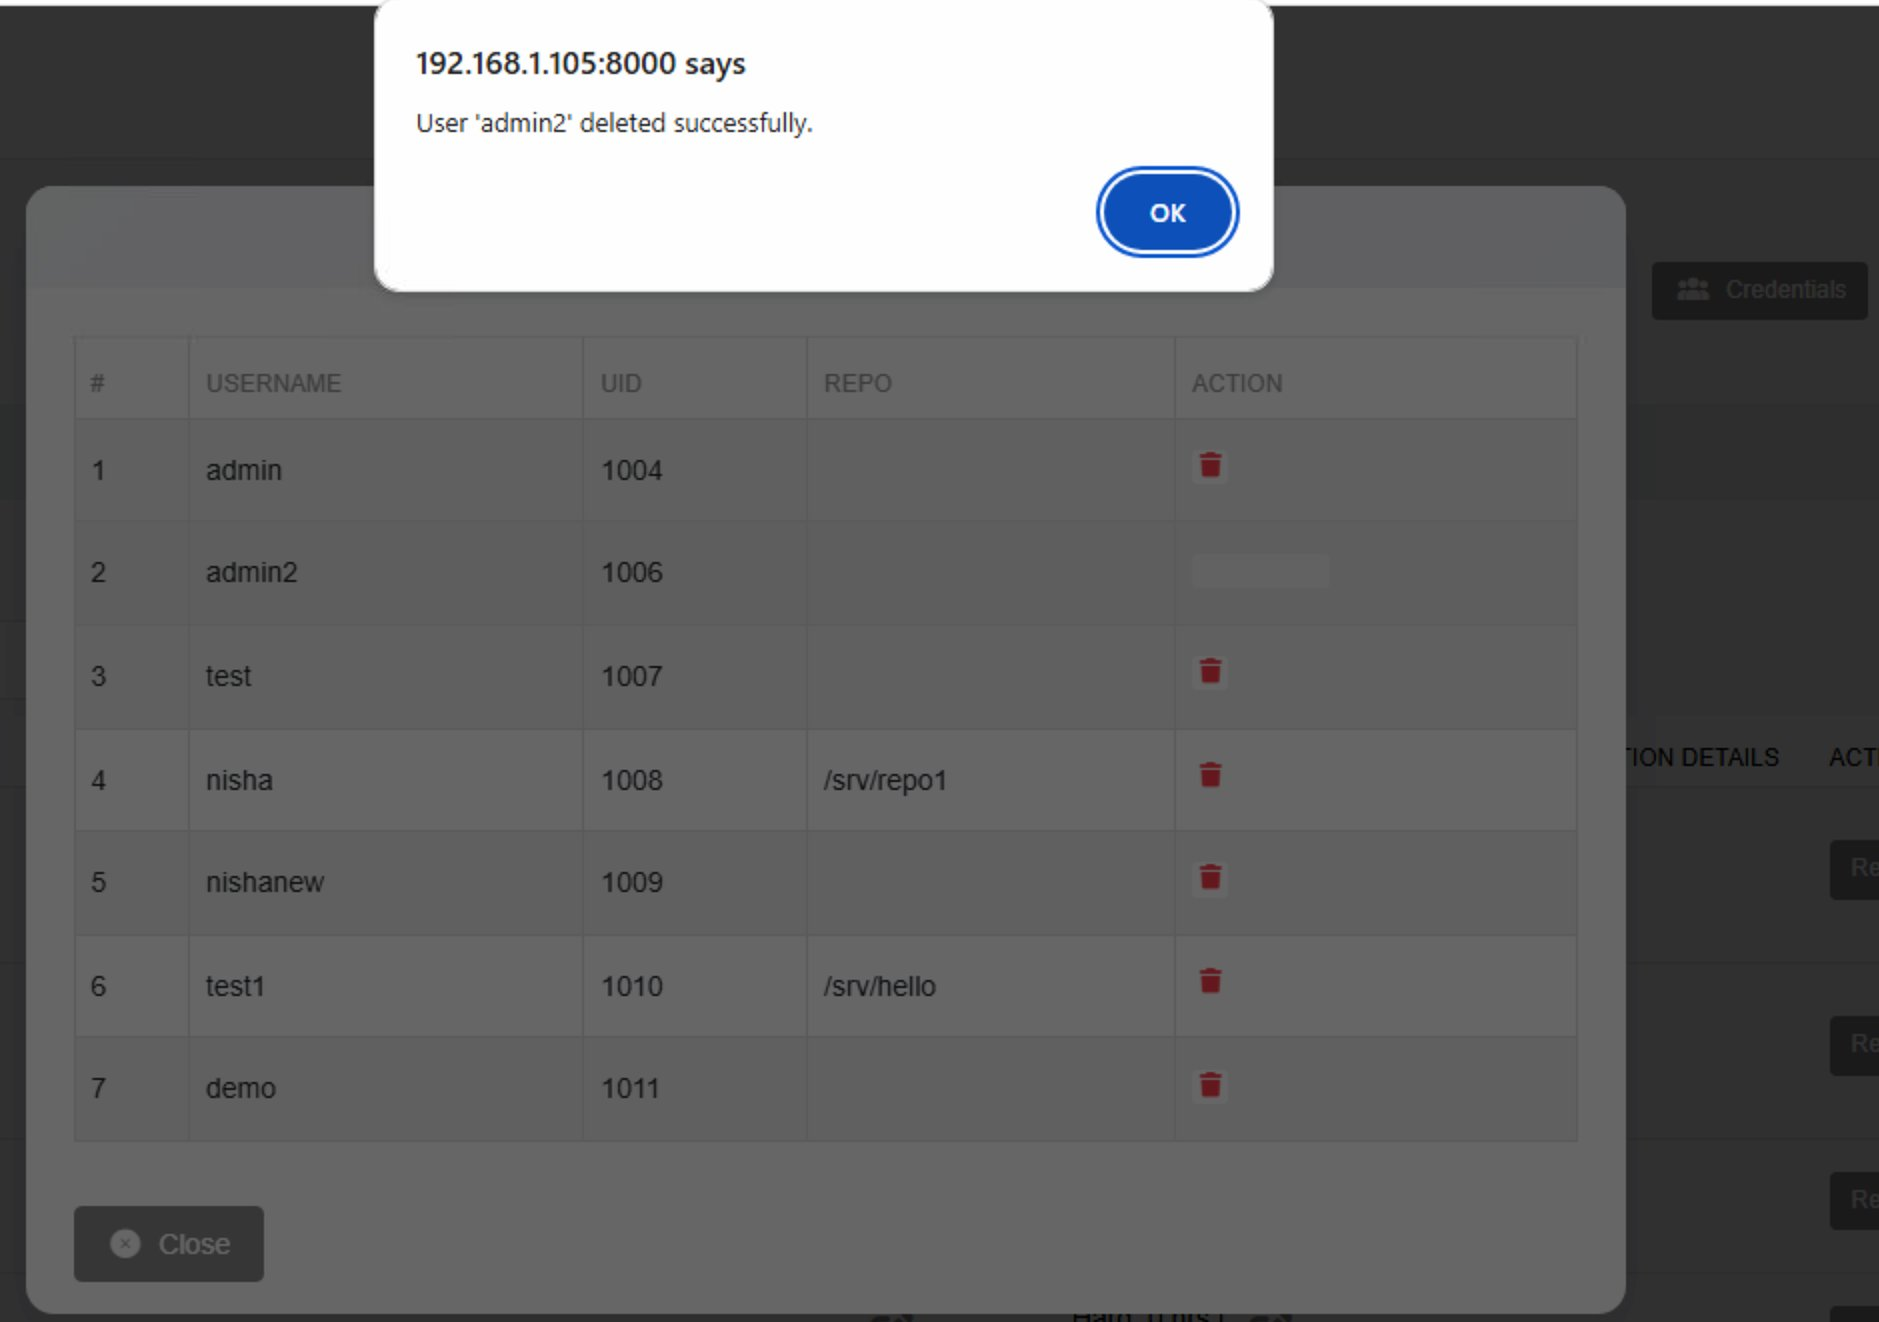
Figure 32 — Credentials panel showing user list and delete confirmation
| Element | Description |
|---|---|
| # (Number) | Row number for each user entry in the list. |
| USERNAME | The backup user account name. Example: admin, admin2, test, nisha, demo |
| UID | The unique system User ID assigned to each account. Example: 1004, 1006, 1007 |
| REPO | The repository path this user is linked to. Example: /srv/repo1, /srv/hello. Empty means not linked to any repository. |
| ACTION — Delete | Click the red trash icon to permanently delete the user from the system. |
| Delete confirmation | A popup confirms the deletion. Example: "User 'admin2' deleted successfully." |
| Close button | Click Close to dismiss the Credentials panel and return to Browse Repo. |
Only users linked to a repository (shown in the REPO column) can access backup data in that repository. Use Link User on the Browse Repo page to assign a user to a specific folder.
Secondary Copy Settings
In the SECONDARY COPY column on the Browse Repo page, each folder has an edit icon. Click it to open the Secondary Copy Settings dialog. This configures automated secondary (replica) backups for the folder. MFA verification is required to save changes.
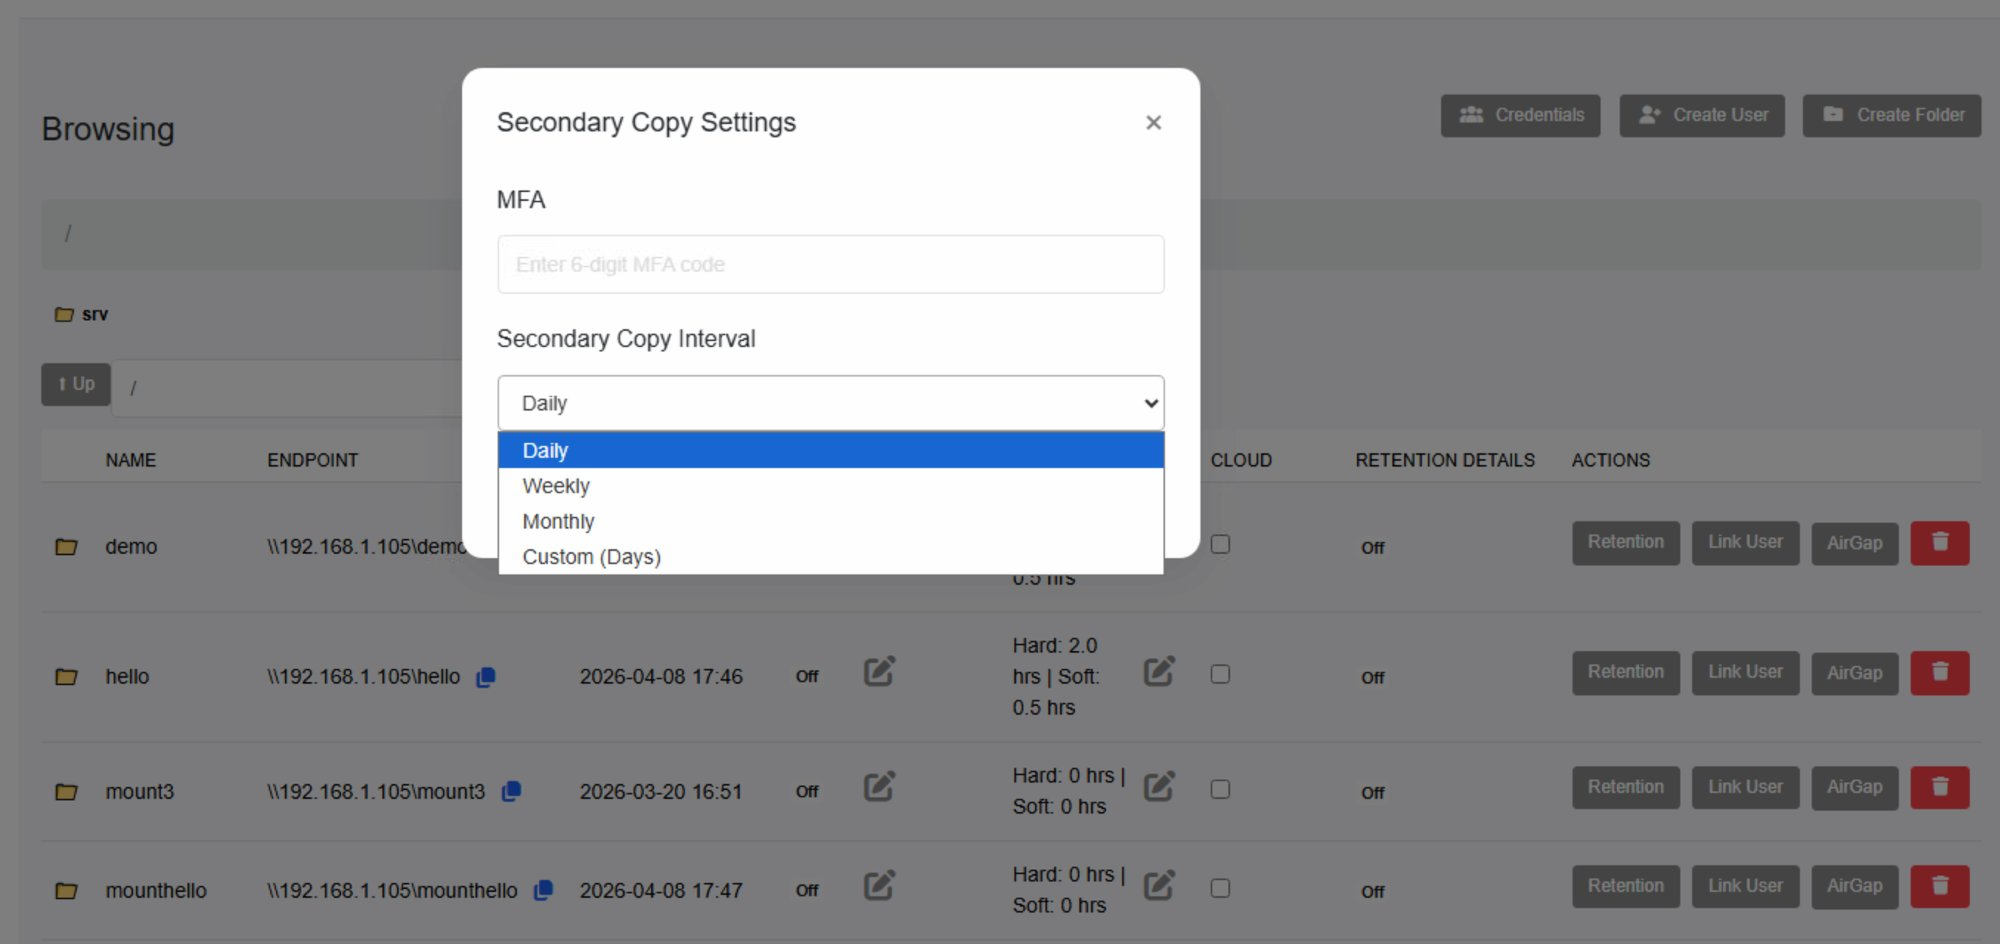
Figure 33 — Secondary Copy Settings dialog
| Element | Description |
|---|---|
| MFA field | Enter your 6-digit MFA code to authorize the secondary copy configuration change. |
| Secondary Copy Interval | Select how often the secondary copy job runs. Options: Daily, Weekly, Monthly, Custom (Days). |
| Daily | Runs the secondary copy job once every day. |
| Weekly | Runs the secondary copy job once every week. |
| Monthly | Runs the secondary copy job once every month. |
| Custom (Days) | Set a specific number of days between each secondary copy run. |
| Change button | Saves the secondary copy interval settings and schedules the job. |
| Run Immediately button | Triggers the secondary copy job to run right now instead of waiting for the scheduled interval. |
| Cancel button | Closes the dialog without saving any changes. |
After clicking Run Immediately or Change, a confirmation popup appears.
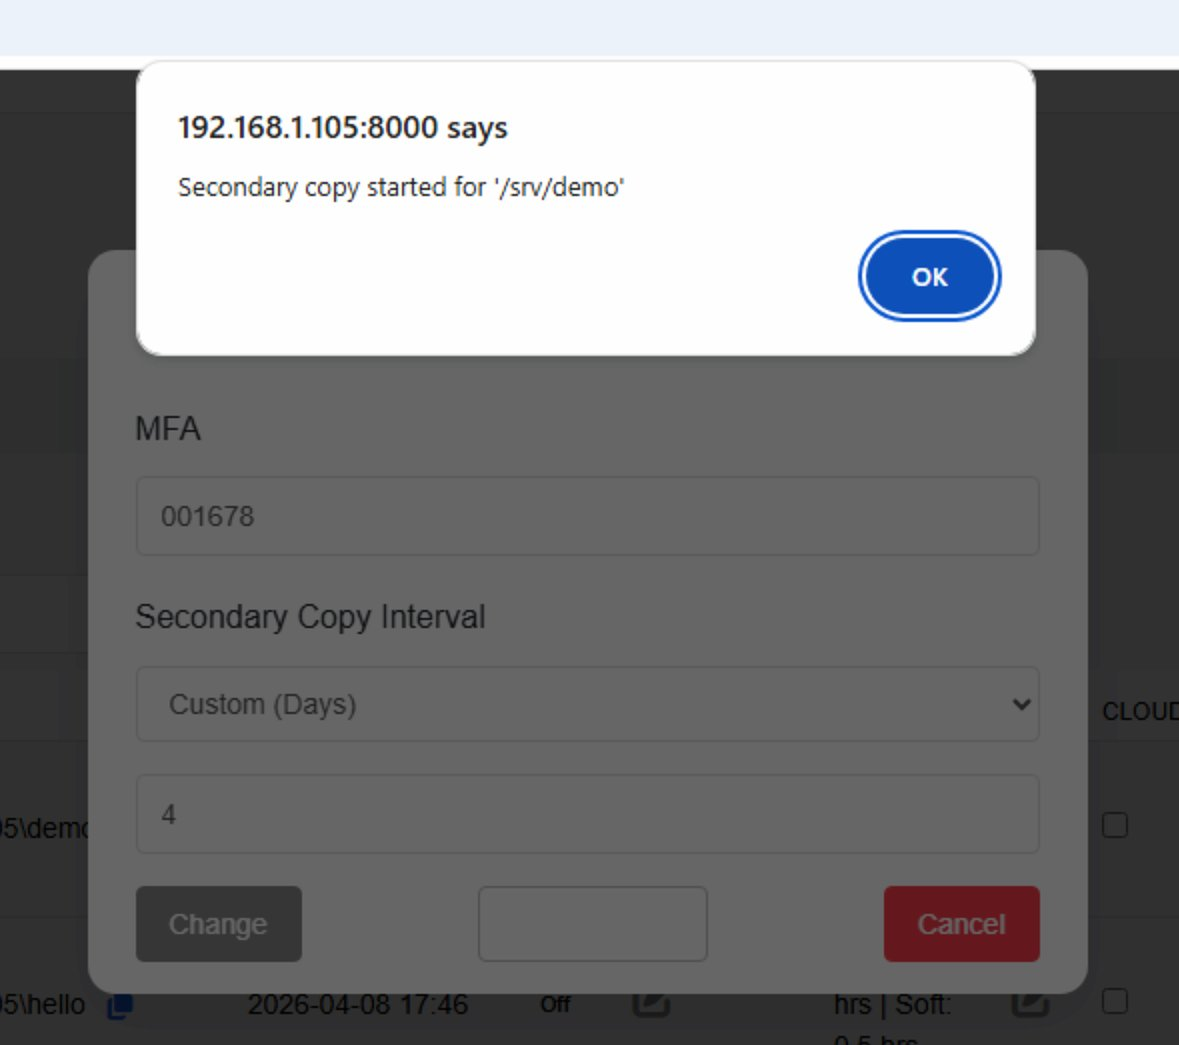
Figure 34 — Secondary copy started confirmation
| Element | Description |
|---|---|
| Message shown | "Secondary copy started for '/srv/demo'" — confirms the secondary copy job has been triggered for the selected folder. |
| OK button | Click OK to dismiss. The secondary copy process runs in the background. |
Set Immutability
In the IMMUTABILITY column, click the edit icon next to a folder to open the Set Immutability dialog. Immutability protects backup data from being modified or deleted for a defined period. MFA is required to apply changes.
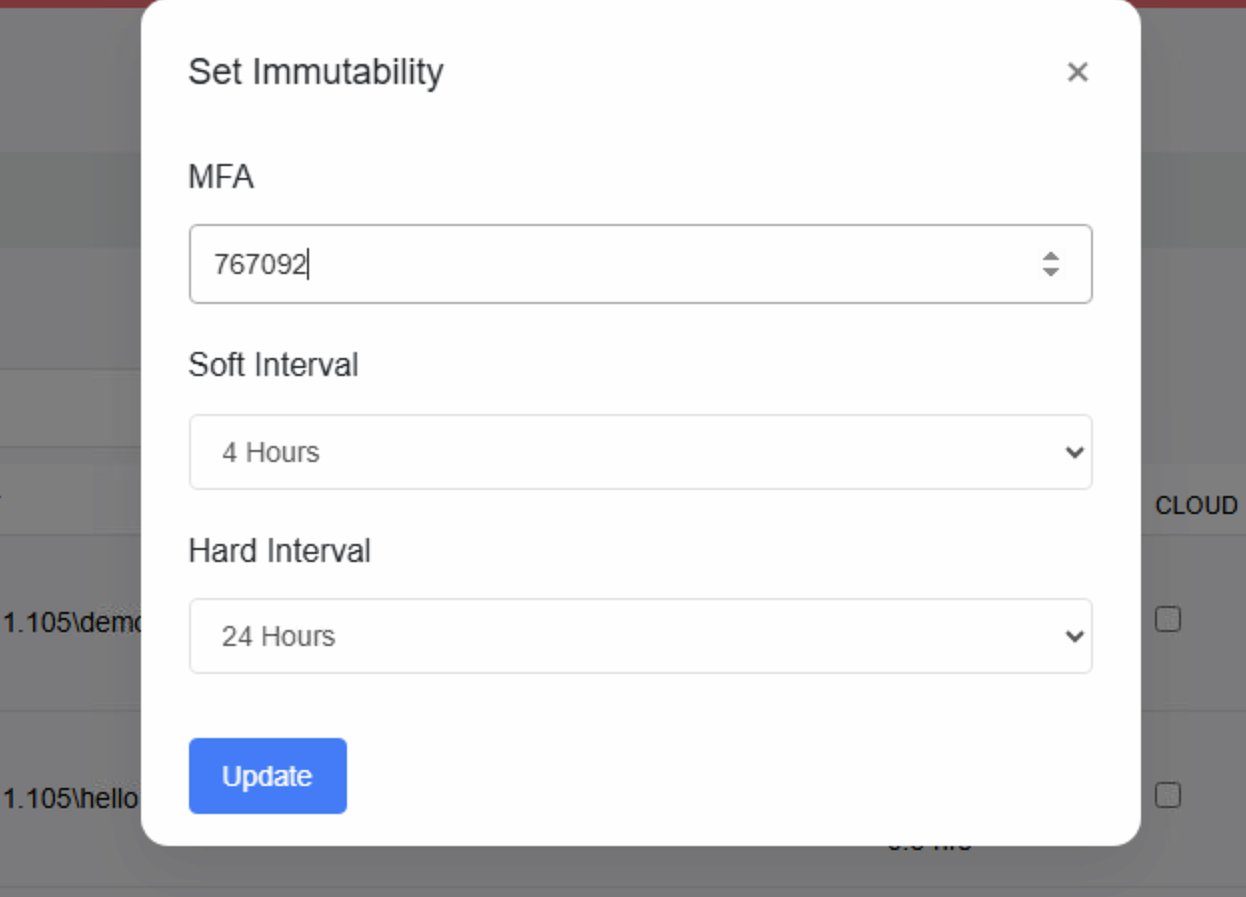
Figure 35 — Set Immutability dialog
| Element | Description |
|---|---|
| MFA field | Enter your 6-digit MFA code to authorize the immutability change. |
| Soft Interval | The soft immutability period. During this time, data cannot be deleted by regular backup operations but can be overridden by an administrator. Example: 4 Hours. |
| Hard Interval | The hard immutability period. During this time, data is completely locked and cannot be deleted or modified by anyone, including administrators. Example: 24 Hours. |
| Update button | Click to save and apply the immutability settings to the selected folder. |
After clicking Update, a confirmation popup appears.
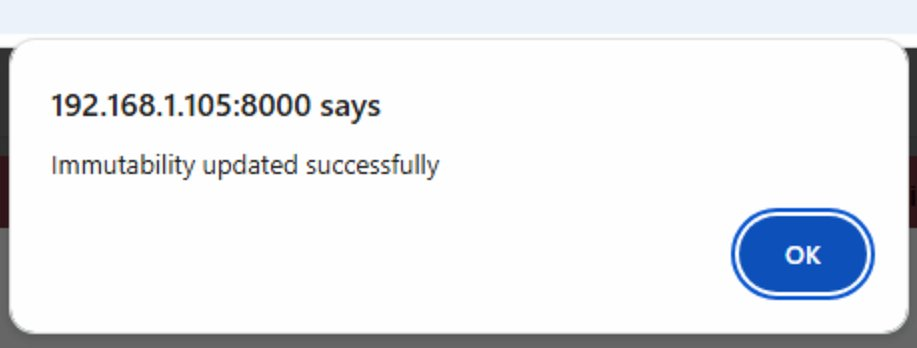
Figure 36 — Immutability updated successfully
| Element | Description |
|---|---|
| Message shown | "Immutability updated successfully" — the hard and soft immutability intervals are now applied to the folder. |
Retention Settings
In the ACTIONS column, click the Retention button to configure the retention policy for a folder. Retention automatically deletes backup files older than the specified period, helping manage storage space. MFA is required to save changes.
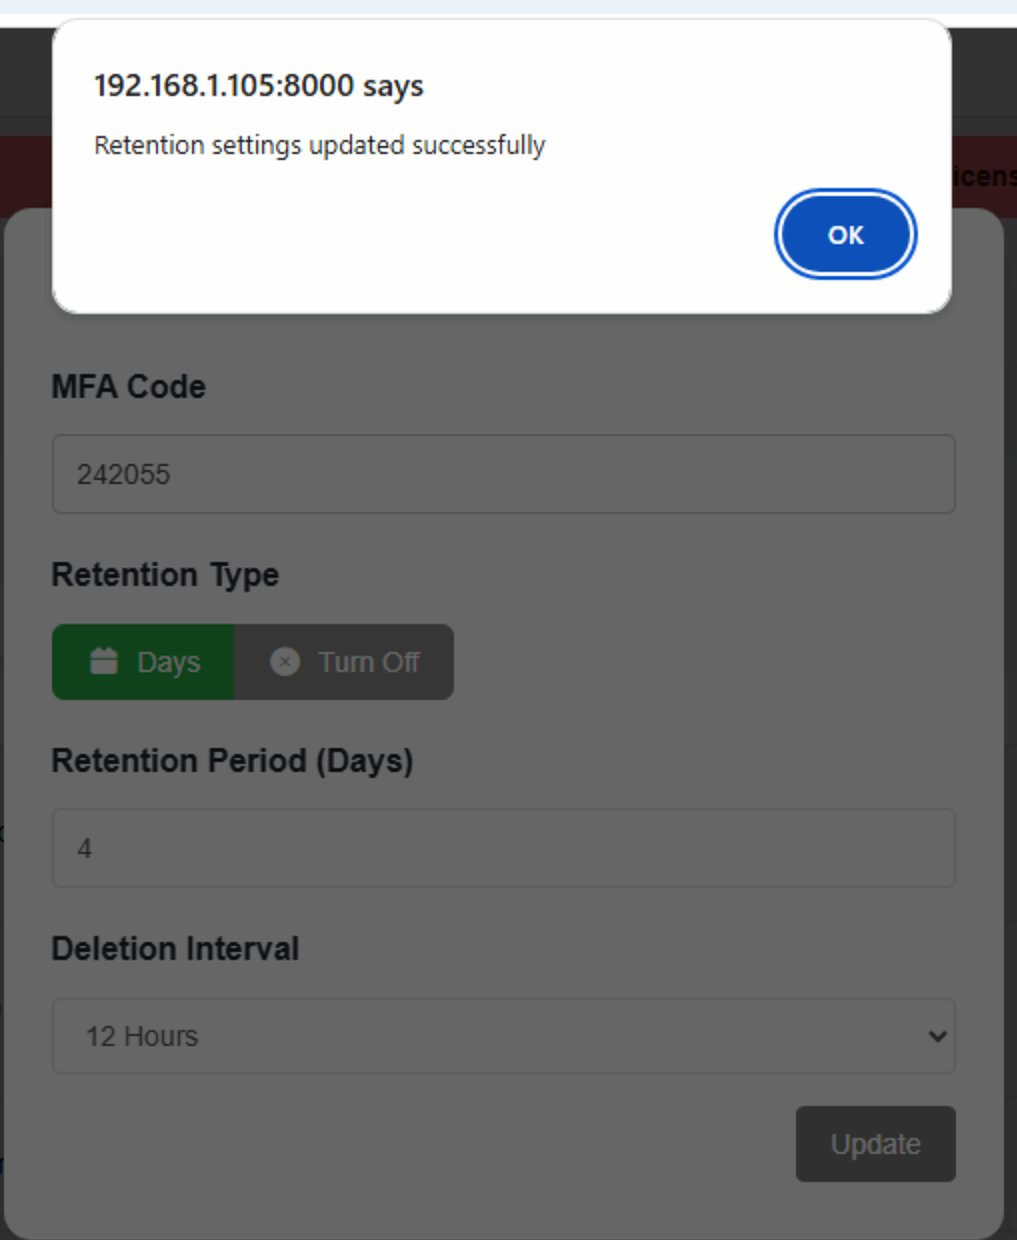
Figure 37 — Retention Settings dialog
| Element | Description |
|---|---|
| MFA Code | Enter your 6-digit MFA code to authorize the retention policy change. |
| Retention Type — Days | Select Days to set a retention period in days. Backup files older than this period will be automatically deleted. |
| Retention Type — Turn Off | Select Turn Off to disable the retention policy for this folder. No automatic deletion will occur. |
| Retention Period (Days) | Enter the number of days to keep backup files. Example: 4 (files older than 4 days will be deleted). |
| Deletion Interval | How often the retention cleanup runs. Example: 12 Hours — the system checks and deletes expired files every 12 hours. |
| Update button | Click to save and apply the retention settings to the folder. |
After saving, a confirmation popup appears.
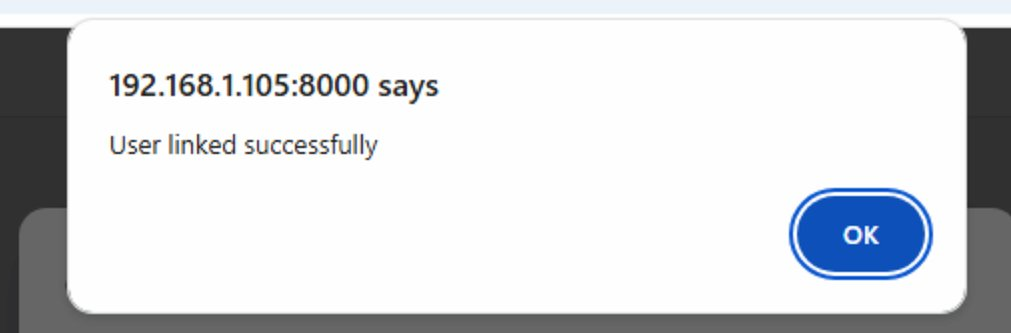
Figure 38 — Retention settings updated successfully
| Element | Description |
|---|---|
| Message shown | "Retention settings updated successfully" — the retention policy is now active for the folder. |
Link User to Folder
In the ACTIONS column, click the Link User button to assign a backup user account to a specific repository folder. Only linked users can access the backup data in that folder.
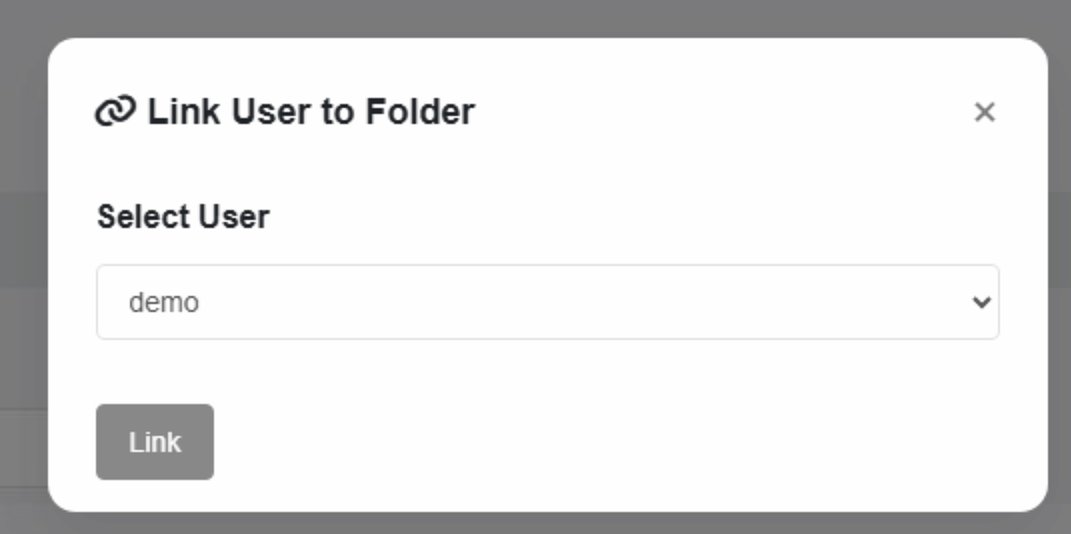
Figure 39 — Link User to Folder dialog
| Element | Description |
|---|---|
| Link User to Folder dialog | A popup that allows you to assign a backup user to the selected repository folder. |
| Select User dropdown | Choose the backup user you want to grant access to this folder. Example: demo |
| Link button | Click to confirm and link the selected user to the folder. |
After clicking Link, a confirmation popup appears.
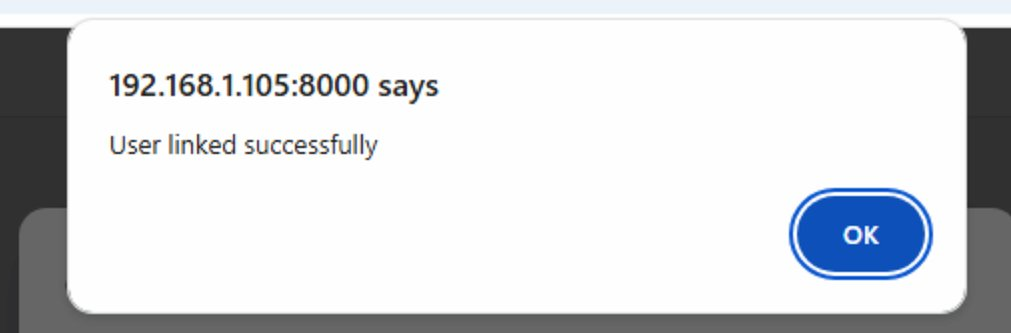
Figure 40 — User linked successfully confirmation
| Element | Description |
|---|---|
| Message shown | "User linked successfully" — the selected user now has access to the repository folder. The REPO column in Credentials will update to show this assignment. |
Each folder can be linked to one user at a time. To change the linked user, click Link User again and select a different user from the dropdown.
AirGap — Scheduled Access Control
In the ACTIONS column, click the AirGap button to configure an AirGap schedule for a folder. AirGap temporarily disables access to the folder during a defined time window, providing an extra layer of ransomware protection by making the repository unreachable during off-hours. After saving, a confirmation popup appears.
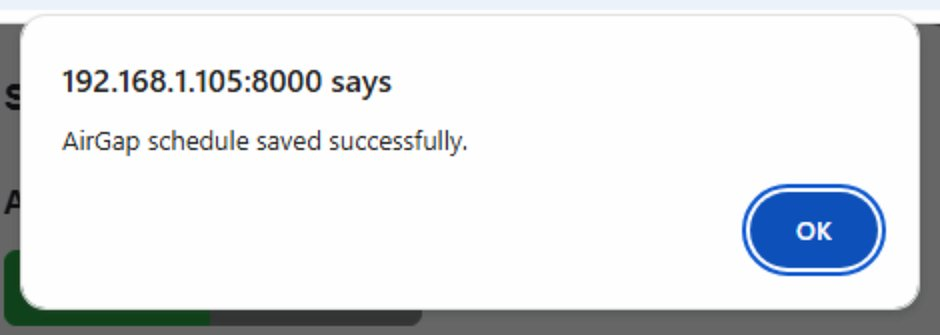
Figure 41 — AirGap schedule saved successfully
| Element | Description |
|---|---|
| AirGap button | Opens the AirGap schedule configuration dialog for the selected folder. |
| Message shown | "AirGap schedule saved successfully." — the AirGap time window is now configured and the folder will be inaccessible during the scheduled period. |
| OK button | Click OK to dismiss. The AirGap schedule is now active for the folder. |
Deleting a Folder
In the ACTIONS column, click the red Delete button (trash icon) to permanently delete a repository folder. For security, MFA verification is required before the deletion is carried out.
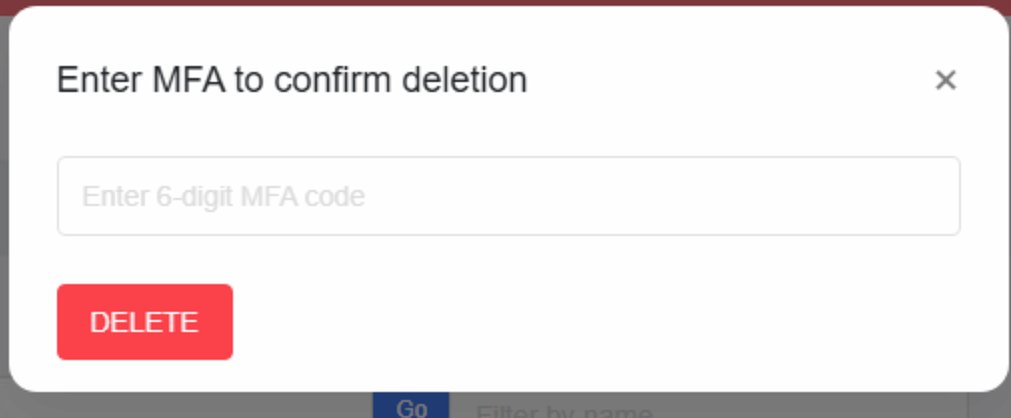
Figure 42 — Enter MFA to confirm folder deletion
| Element | Description |
|---|---|
| Enter MFA to confirm deletion | A security dialog that appears when the Delete button is clicked. MFA must be entered to proceed. |
| 6-digit MFA code field | Enter the current OTP from your authenticator app to authorize the deletion. |
| DELETE button (Red) | Click after entering the MFA code to permanently delete the folder and all its contents. |
| X (Close) | Click to cancel and close the dialog without deleting anything. |
WARNING: Deleting a folder is permanent and cannot be undone. All backup data inside the folder will be lost. Always verify you have selected the correct folder before confirming deletion.
Folder Row — Immutability & Retention Details Displayed
After setting immutability and retention for a folder, the Browse Repo table updates to show the configured values directly in the row. This gives administrators a quick at-a-glance view of each folder's protection settings.

Figure 43 — Folder row showing immutability and retention details after configuration
| Element | Description |
|---|---|
| IMMUTABILITY column | Displays the configured Hard and Soft immutability intervals. Example: Hard: 24.0 hrs | Soft: 4.0 hrs. This means data is hard-locked for 24 hours and soft-protected for 4 hours. |
| Hard interval | The strict lock period — no one can delete or modify backup data during this window. |
| Soft interval | The soft protection period — regular backup processes cannot delete data, but administrators can override if needed. |
| RETENTION DETAILS | Shows the active retention policy for the folder. Example: 4 days — backup files older than 4 days will be automatically deleted. |
| CLOUD column | Shows whether cloud backup is enabled for this folder. Checkbox enables cloud integration. |
The IMMUTABILITY and RETENTION DETAILS columns update immediately after saving changes. Use these columns as a quick reference to verify that all protection policies are correctly applied to each folder.
Cloud Sync — S3 Bucket Integration
The CLOUD column in the Browse Repo table has a checkbox for each folder. Ticking this checkbox enables cloud sync, which automatically backs up the folder contents to an AWS S3 bucket. AWS S3 credentials must be configured in the CLOUD_CONFIGURATION page first.
Step 1 — Enable Cloud Sync (S3 Not Configured)
If you tick the Cloud checkbox before configuring your AWS S3 credentials, G-Immute shows an error message directing you to set up the cloud configuration first.
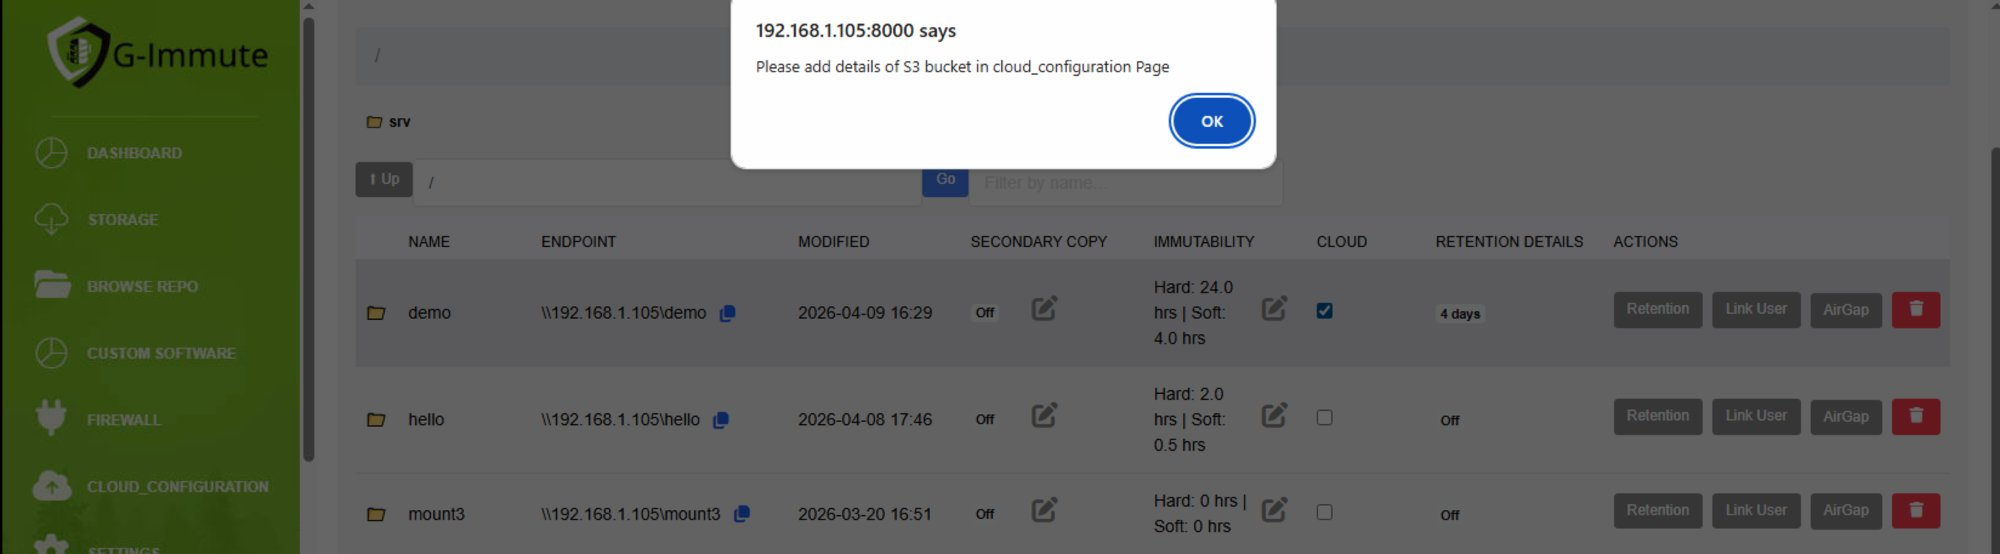
Figure 44 — Cloud checkbox error — S3 not configured
| Element | Description |
|---|---|
| Error message | "Please add details of S3 bucket in cloud_configuration Page" — shown when the Cloud checkbox is clicked but no AWS S3 credentials have been saved yet. |
| CLOUD column checkbox | Tick to enable cloud sync for the folder. Untick to disable. |
| What to do | Navigate to CLOUD_CONFIGURATION from the left sidebar and enter your AWS S3 credentials before enabling cloud sync. |
Step 2 — Configure AWS S3 Credentials
Go to CLOUD_CONFIGURATION from the left sidebar. Enter your AWS S3 credentials and click Save. A confirmation popup confirms the credentials were saved successfully.
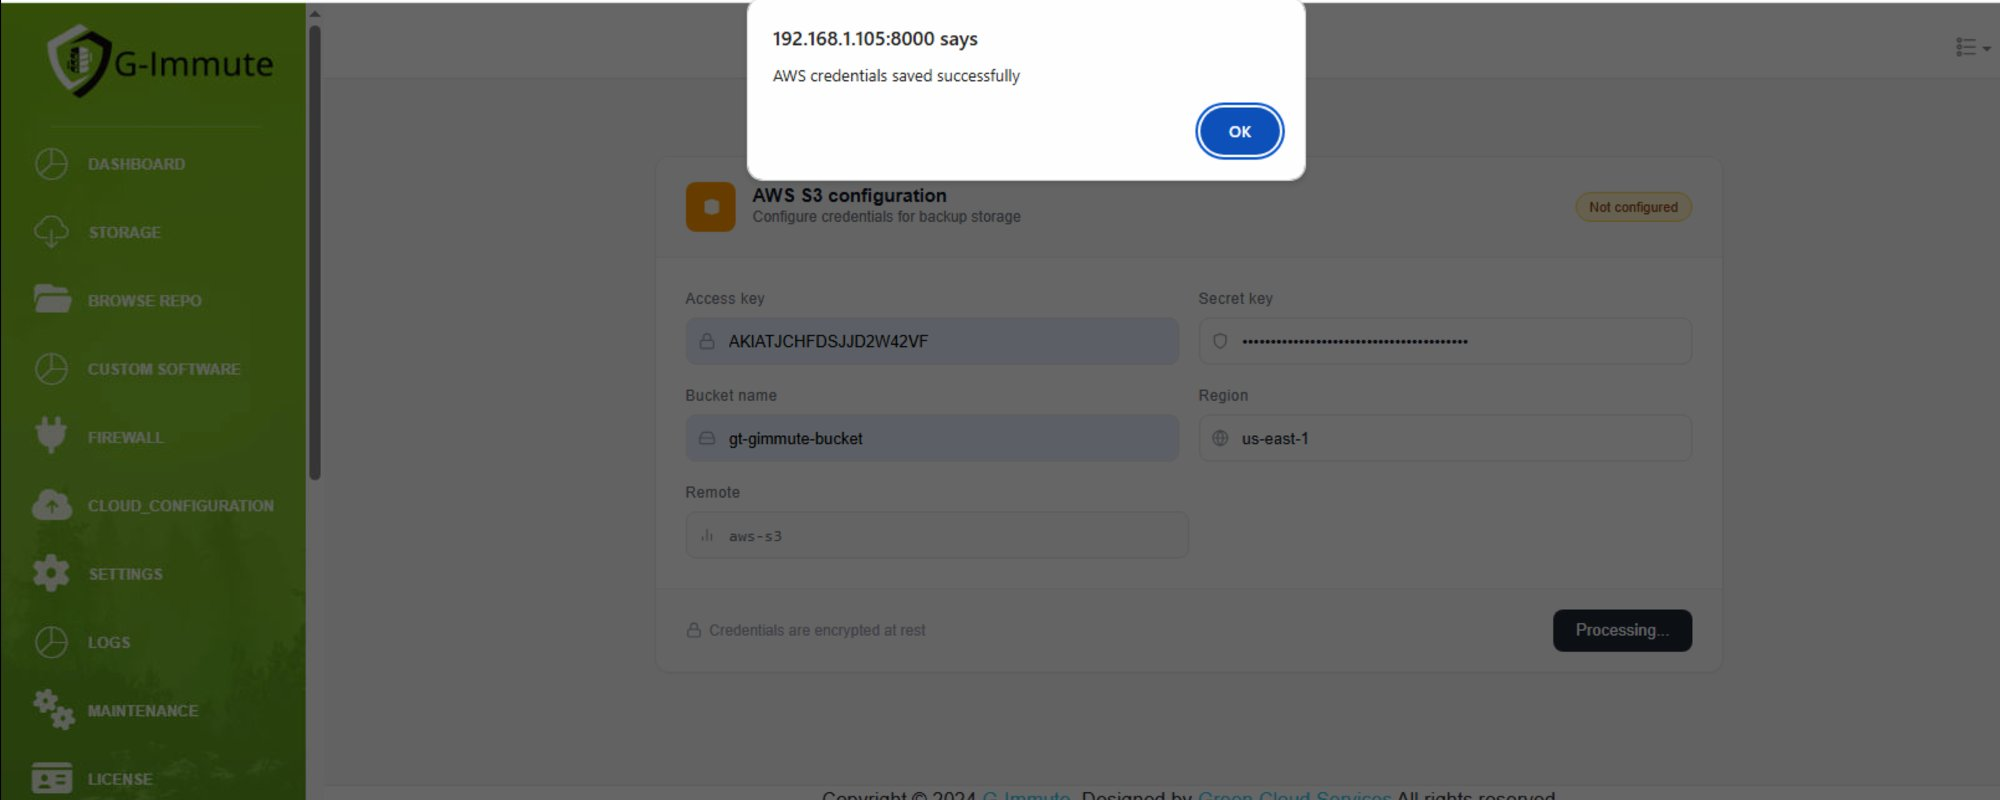
Figure 45 — AWS S3 Configuration page with credentials saved
| Element | Description |
|---|---|
| AWS S3 configuration | The cloud configuration form where AWS credentials are entered for backup storage. |
| Access key | Your AWS IAM Access Key ID. Example: AKIATJCHFDSJJD2W42VF |
| Secret key | Your AWS IAM Secret Access Key (masked for security). |
| Bucket name | The name of your S3 bucket where backups will be stored. Example: gt-gimmute-bucket |
| Region | The AWS region where your S3 bucket is located. Example: us-east-1 |
| Remote | The remote storage type. Example: aws-s3 |
| Credentials are encrypted at rest | All credentials are stored securely in encrypted form. |
| Processing button | Click to save and verify the AWS credentials. |
| Message shown | "AWS credentials saved successfully" — confirms S3 is now configured and ready to use. |
Step 3 — Enable Cloud Sync for a Folder
After saving AWS S3 credentials, return to Browse Repo and tick the Cloud checkbox for the folder you want to sync. A confirmation popup confirms the sync has been scheduled.
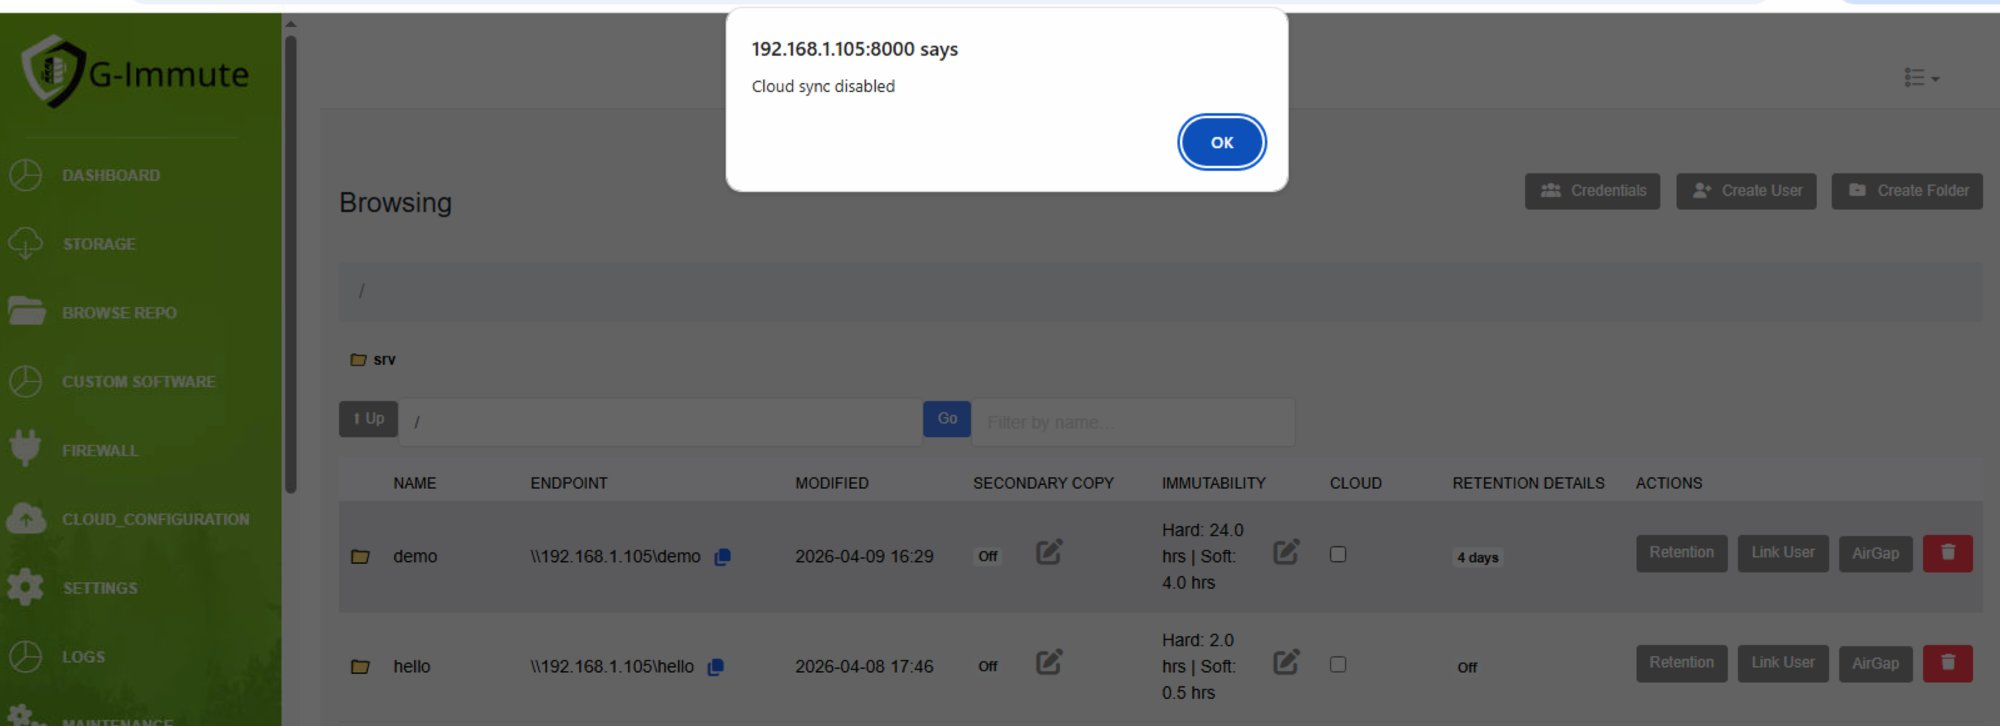
Figure 46 — Cloud sync enabled — backup will sync to S3
| Element | Description |
|---|---|
| Message shown | "Your backup will be synced with S3 bucket" — the folder is now enabled for cloud sync. |
| CLOUD checkbox | Shows as ticked (checked) when cloud sync is active for the folder. |
| OK button | Click OK to dismiss. The folder will begin syncing to the configured S3 bucket. |
Step 4 — Disable Cloud Sync for a Folder
To stop cloud sync for a folder, simply untick the Cloud checkbox. G-Immute immediately disables the sync and shows a confirmation popup.
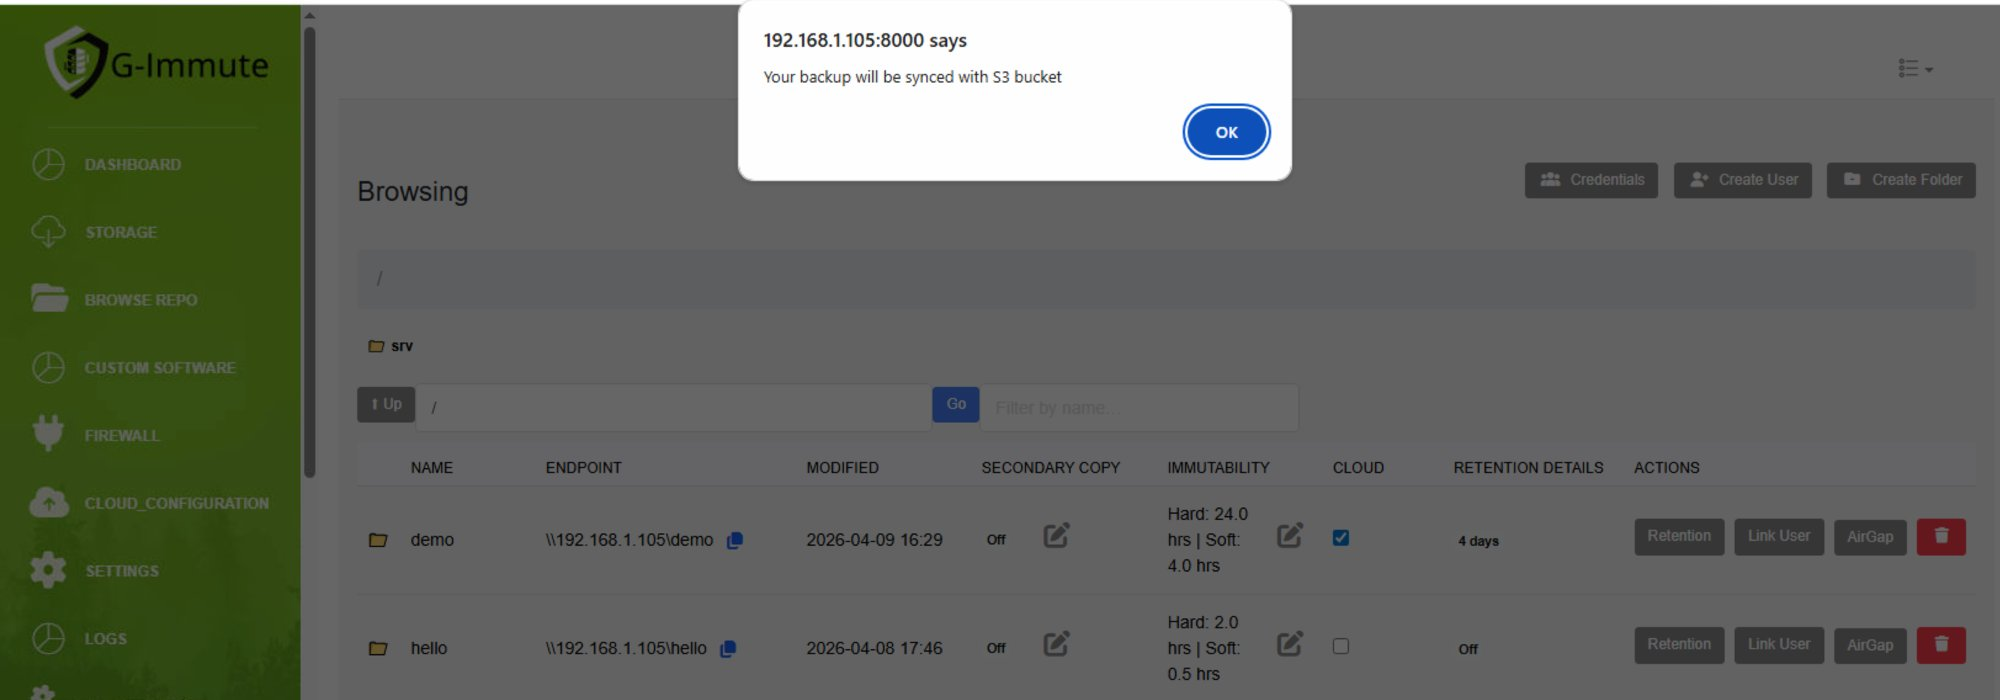
Figure 47 — Cloud sync disabled confirmation
| Element | Description |
|---|---|
| Message shown | "Cloud sync disabled" — the folder will no longer sync to the S3 bucket. |